3.2.1 GitHub Integration
We will set up the Integration into GitHub such that your Backstage App can read Software Templates and push generated applications.
Task 3.2.1.1: Create a GitHub Integration
Prerequisites
To make the following tasks work you need a personal GitHub where you can create Personal Access Tokens.
Step 1: Create a GitHub Personal Access Token
To allow Backstage to access your GitHub repositories, you need to create a Personal Access Token (PAT):
- Go to GitHub Settings: https://github.com/settings/tokens
- Click “Generate new token” → “Generate new token (classic)”
- Give your token a descriptive name (e.g., “Backstage Catalog Discovery”)
- Select the following scopes:
repo(Full control of private and public repositories) - access private and public reposworkflow(Access GitHub Actions workflows) - to update workflowswrite:org(Write org projects) - to write a new reporead:org(Read org and team membership) - to read organization dataread:user(Read user profile data)
- Click “Generate token”
- Copy the token immediately - you won’t be able to see it again!
Important
Be better than Trivy. Do not let your token get caught! See CVE-2026-33634 for details.Step 2: Configure your Backstage
Your configuration (app-config.yaml) is already prepared for GitHub Integrations:
integrations:
  github:
    - host: github.com
      # This is a Personal Access Token or PAT from GitHub. You can find out how to generate this token, and more information
      # about setting up the GitHub integration here: https://backstage.io/docs/integrations/github/locations#configuration
      token: ${GITHUB_TOKEN}
We notice, that it will be activated when the environment variable GITHUB_TOKEN is present.
Set the GITHUB_TOKEN environment variable with your token (replace the ghp_your_token_here value):
export GITHUB_TOKEN=ghp_your_token_here
Alternative: Use app-config.local.yaml (not recommended at all!)
For local development only, you could create an app-config.local.yaml file (which should be in .gitignore).
This file will extend the configuration of your app-config.yaml. This is a default behavior of Backstage (documentation
).
Add following content to your app-config.local.yaml file with replaced ghp_your_token_here value:
integrations:
  github:
    - host: github.com
      token: ghp_your_token_here
Warning
Never commit tokens directly to your repository! Always use environment variables or secret management tools in production.
Prevent also coding agents from getting your token!
Step 2: Do lab 3.1.1 again
Run the template task again: Explore Existing Templates
But this time, set the right values for Name, Owner and Repository.
Most important is your GitHub user name for Owner.
Now you should see a successful template run.
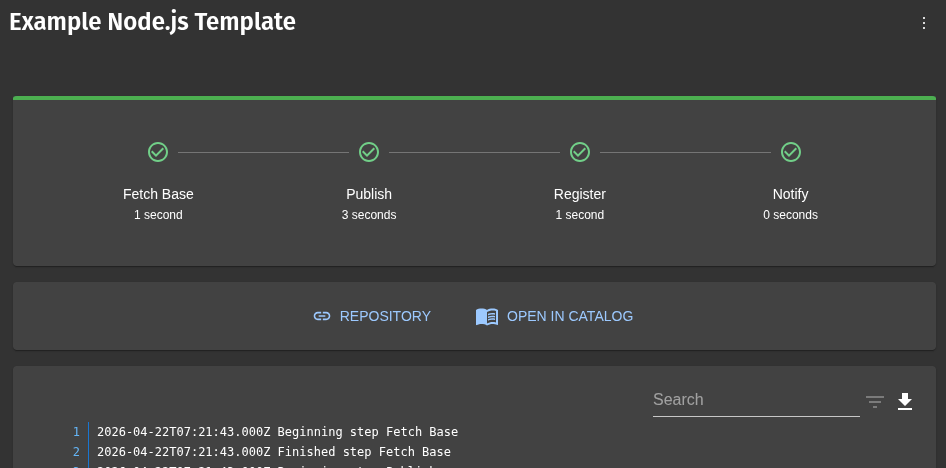
- Click on the
REPOSITORYlink to get to your generated app on GitHub. - Check that your input values are present inside
catalog-info.yaml. - Click on the
OPEN IN CATALOGlink to find your new application in the Backstage catalog. - Is the same user/group visible in the relations that you selected in the template?
Task 3.2.1.2: Create a Template with Multiple Steps
Run the template task again: Create a Template with Multiple Steps
But this time, set the right values for Name, Owner and Repository.
Most important is your GitHub user name for Owner.
Now you should see a successful template run.
- Click on the
REPOSITORYlink to get to your generated app on GitHub. - Check that your input values are present inside
catalog-info.yaml. - Click on the
OPEN IN CATALOGlink to find your new application in the Backstage catalog. - Is the same user/group visible in the relations that you selected in the template?
- Click on the
CI/CD PIPELINElink to find your new applications actions.
Notice how the template adapts based on your selections!
Summary
In this chapter, you:
- ✅ Connected your Backstage instance with GitHub
- ✅ Really created your first software template and pushed it to GitHub
- ✅ Got a glimpse of what is possible to realize with software templates